Hosting a Wordpress website using AWS LightSail
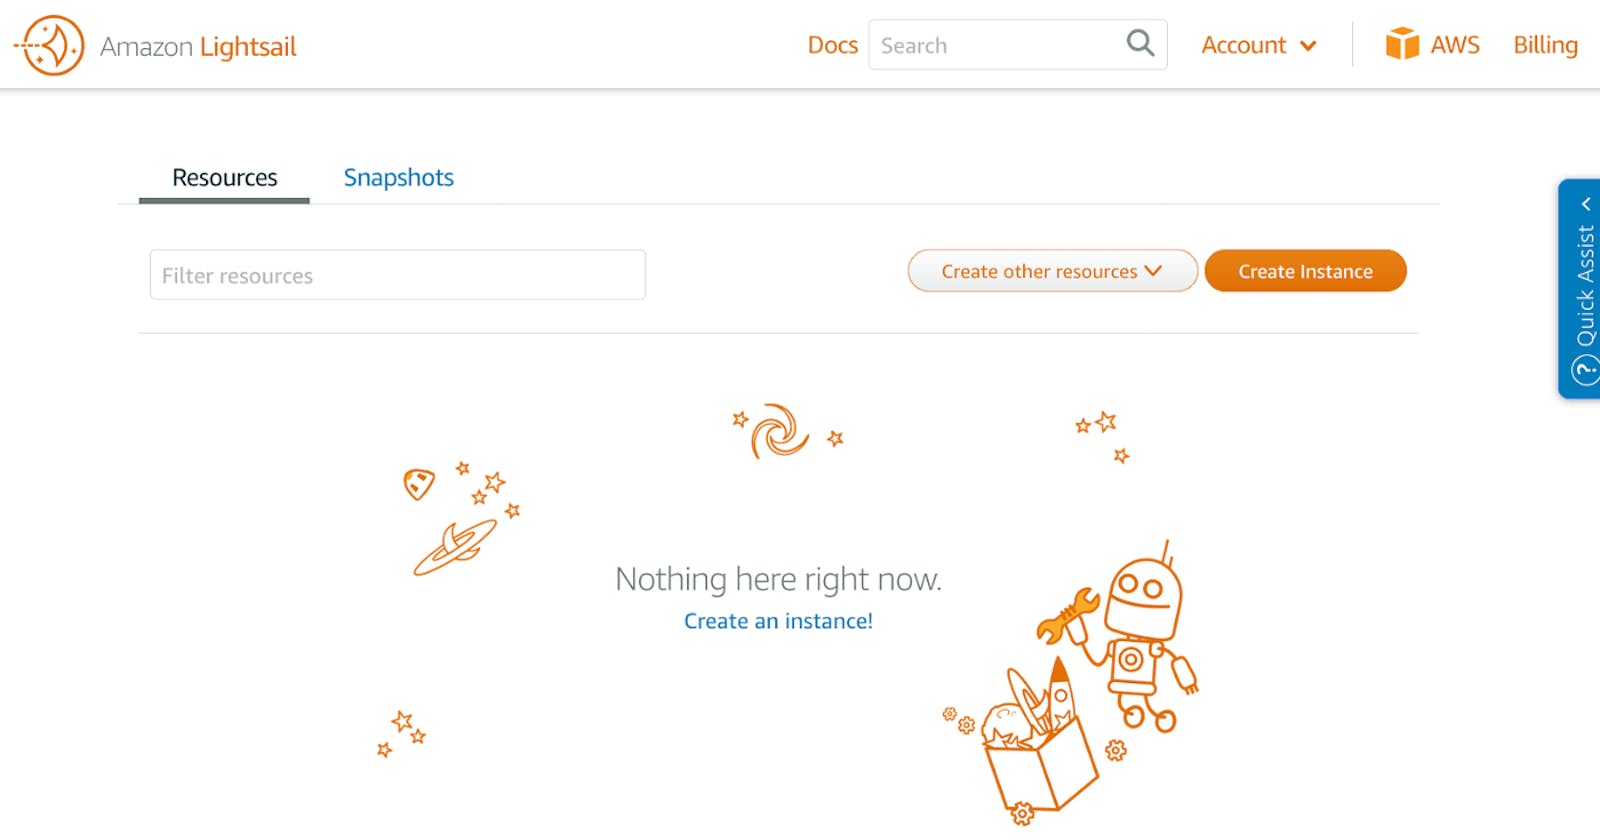
Amazon Lightsail makes it really easy to host a private Wordpress blog for as little as $5 USD a month.
If you’re interested in creating a personal or small business blog, chances are that you’re going to use WordPress.
WordPress is one of the most popular blogging platforms in the world, used to power 32.3% of all websites on the internet according to a recent survey. And it is not hard to see why: WordPress is very easy to use, comes with thousands of extensions and themes, is completely free, and is open source. Due to its robust features, many of the top brands use WordPress to power their websites including Time Magazine, Disney, and more.
Hosting a WordPress website is hence on top of everyone’s list. To achieve the same with the best results and lowest downtime one can use AWS Lightsail. Amazon Lightsail is the easiest way to get started with Amazon Web Services if you just need instances (virtual private servers). Lightsail includes everything you need to launch your project quickly — instances, managed databases, SSD-based storage, backups, data transfer, domain DNS management, static IPs, and load balancers — for a low, predictable price.
Amazon Lightsail makes it really easy to host a private Wordpress blog for as little as $5 USD a month. It’s a one-click solution with a Wordpress container provided by Bitnami.
This tutorial will show you how to launch and configure a WordPress instance on Lightsail. It includes steps to connect to your instance by using SSH, sign in to your WordPress website, create a static IP and attaching it to your instance, and create a DNS zone and mapping your domain.
The steps in the tutorial are as follows:
- Register with Amazon Lightsail
- Create a WordPress instance in Lightsail
- Connect to your instance via SSH and get the password for your WordPress site
- Log in and start using WordPress
- Create a Lightsail static IP address and attach it to your WordPress site
- Create a Lightsail DNS zone and map a domain to your WordPress site
Let us begin!
Step 1: Registering with Amazon Lightsail
- Create an Amazon Lightsail account by signing up at amazonlightsail.com. You will need an existing Amazon account to log in and sign up; if you don’t have one, create one to proceed.
- Once you’ve signed in to Amazon, register with Amazon Lightsail
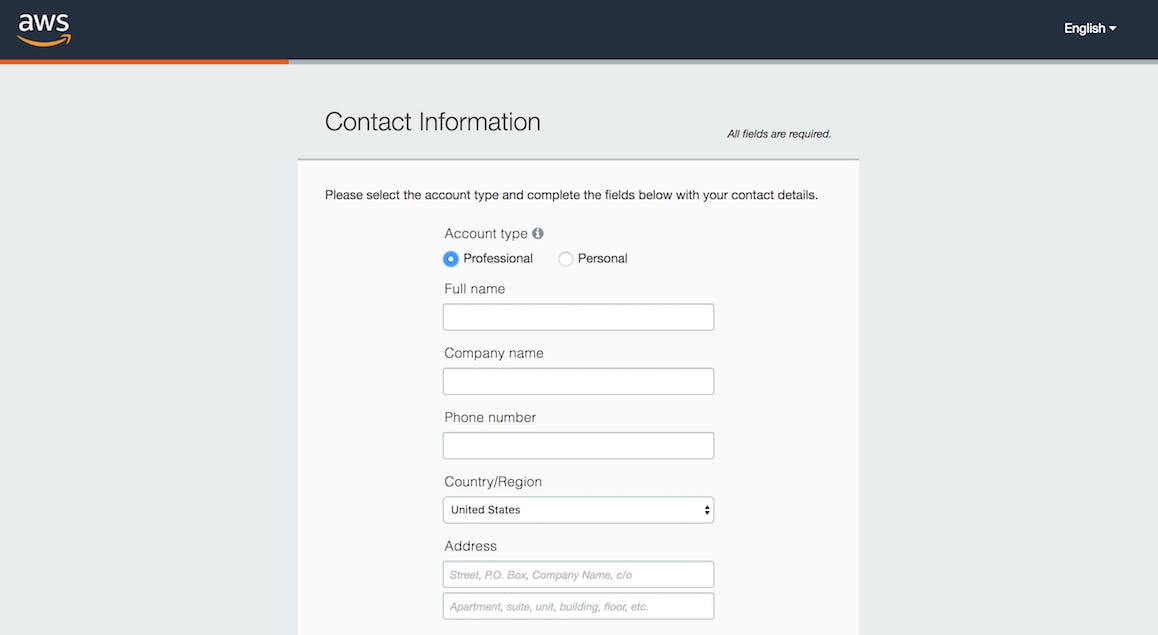
- Following this, you will be asked for your credit card information. Amazon Lightsail includes a one-month free trial that you can use to experiment with the service and see if it fits your requirements. However, Amazon still needs your credit card information for security purposes.
- Once your identity is verified, choose the “Basic” support plan (also free) and confirm your account.
- The account registration machine will redirect you to the Amazon Lightsail dashboard.
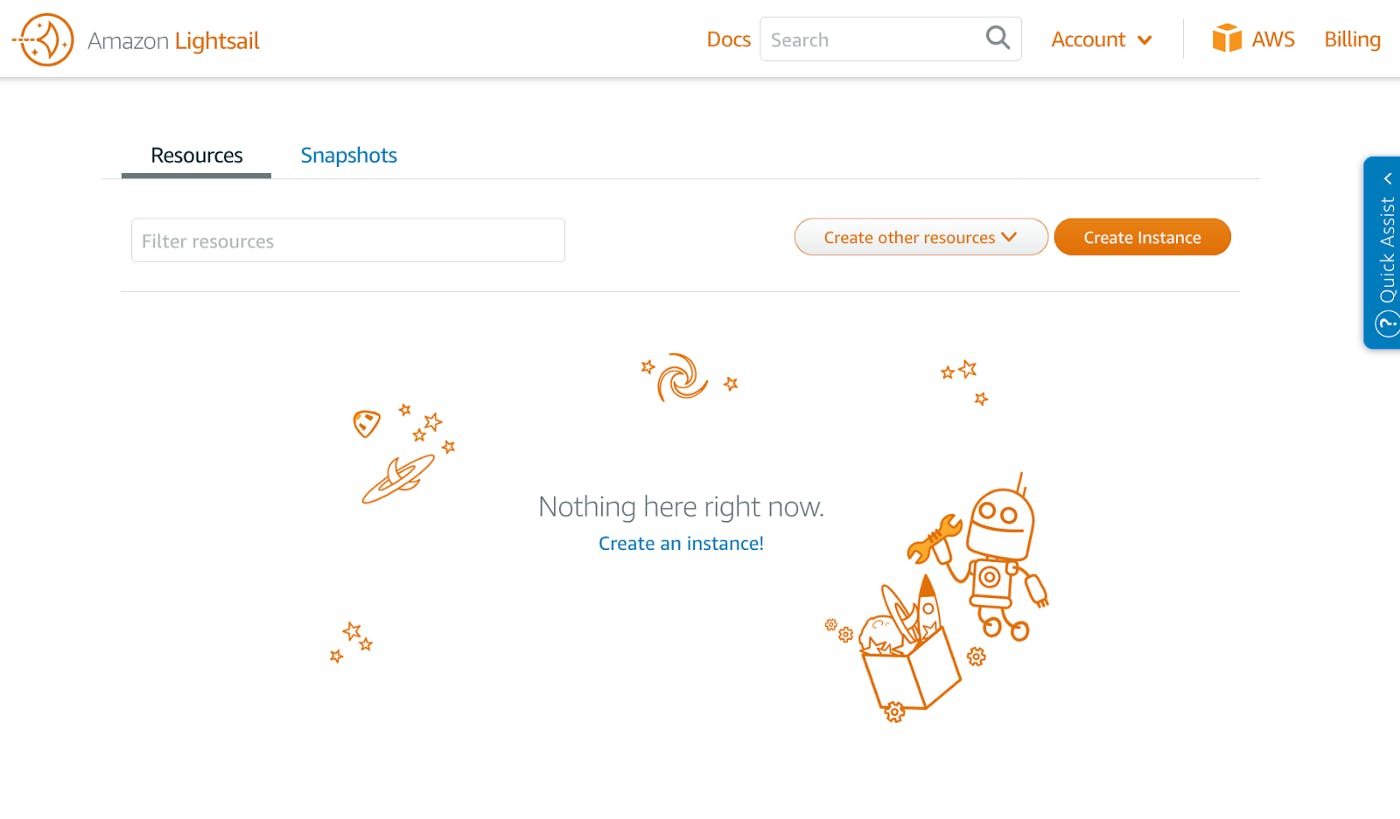
Step 2: Create a WordPress instance in Lightsail
- Log in to the Amazon Lightsail dashboard.
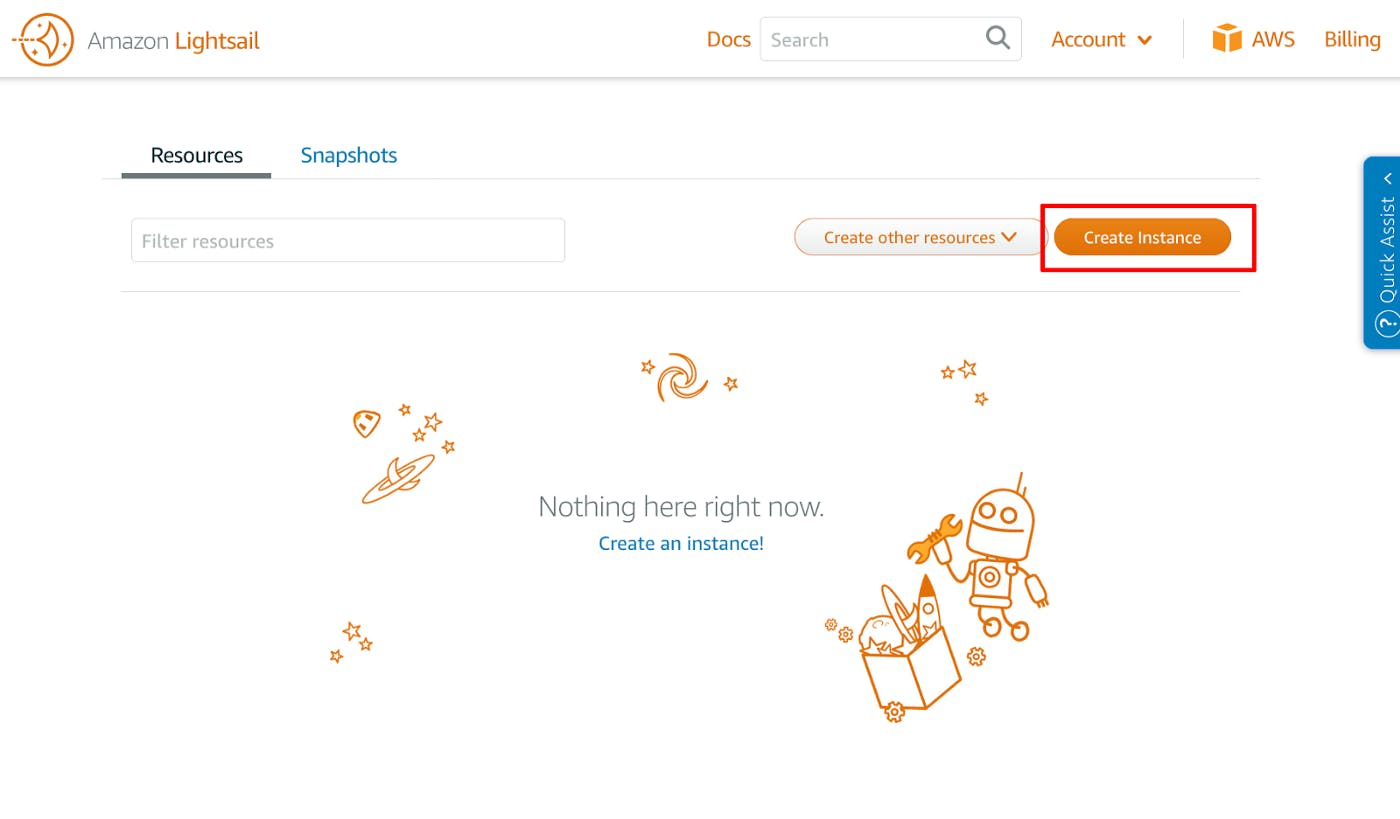
- Click on “Create instance”.
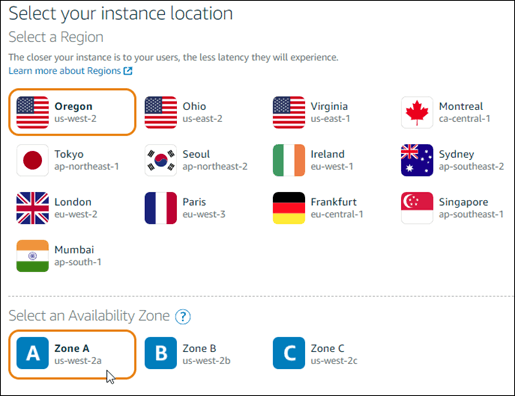
- Choose the “AWS Region” and “Availability Zone” for your instance.
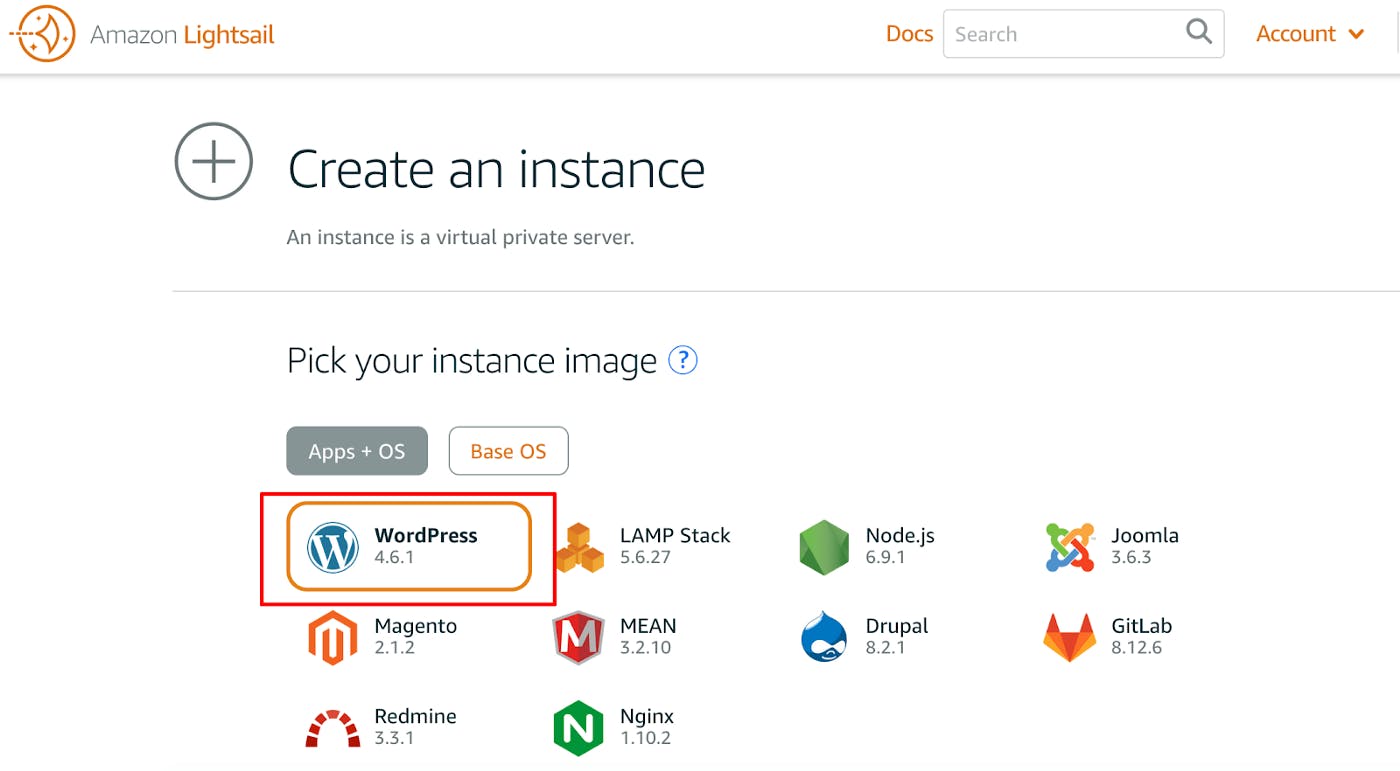
- In the “Pick your instance image” section, select the WordPress image.
- Choose an instance plan.
- Enter a name for your instance. For example WordPress-Nagesh-1

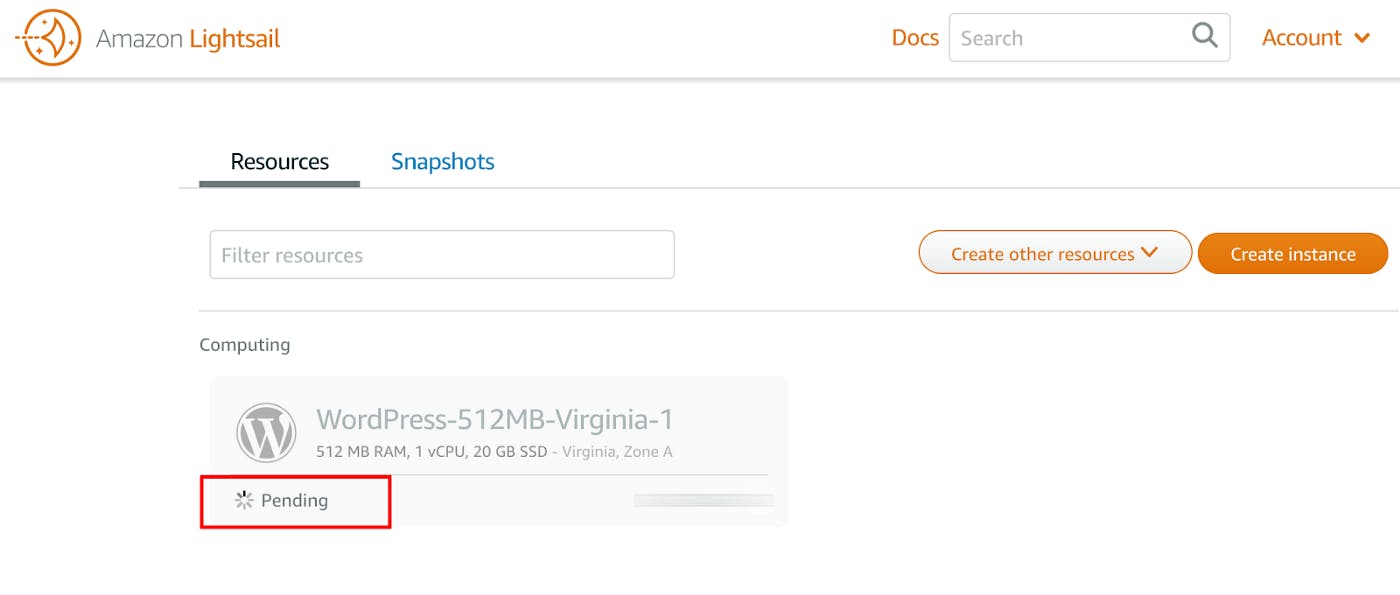
- Amazon Lightsail will begin spinning up the new server. This process usually takes a few minutes, and the status of the deployment process will be displayed throughout.
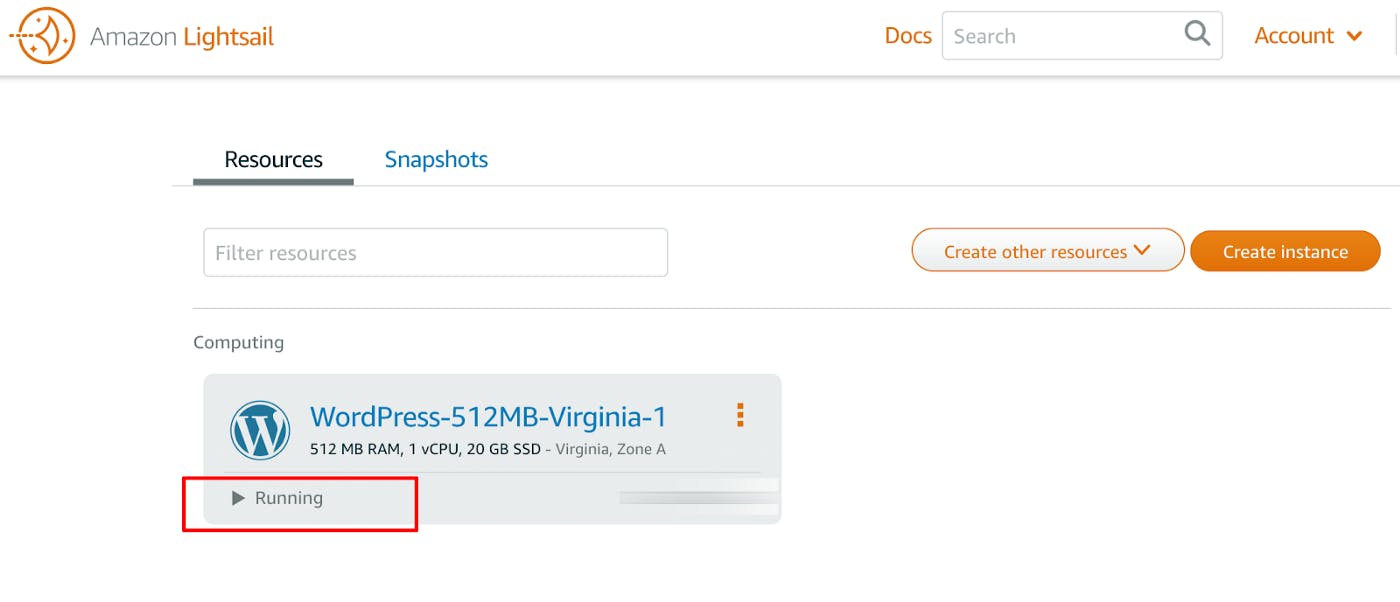
- Once the server has launched the status changes to “Running”.
Step 3: Connect to your instance via SSH and get the password for your WordPress site
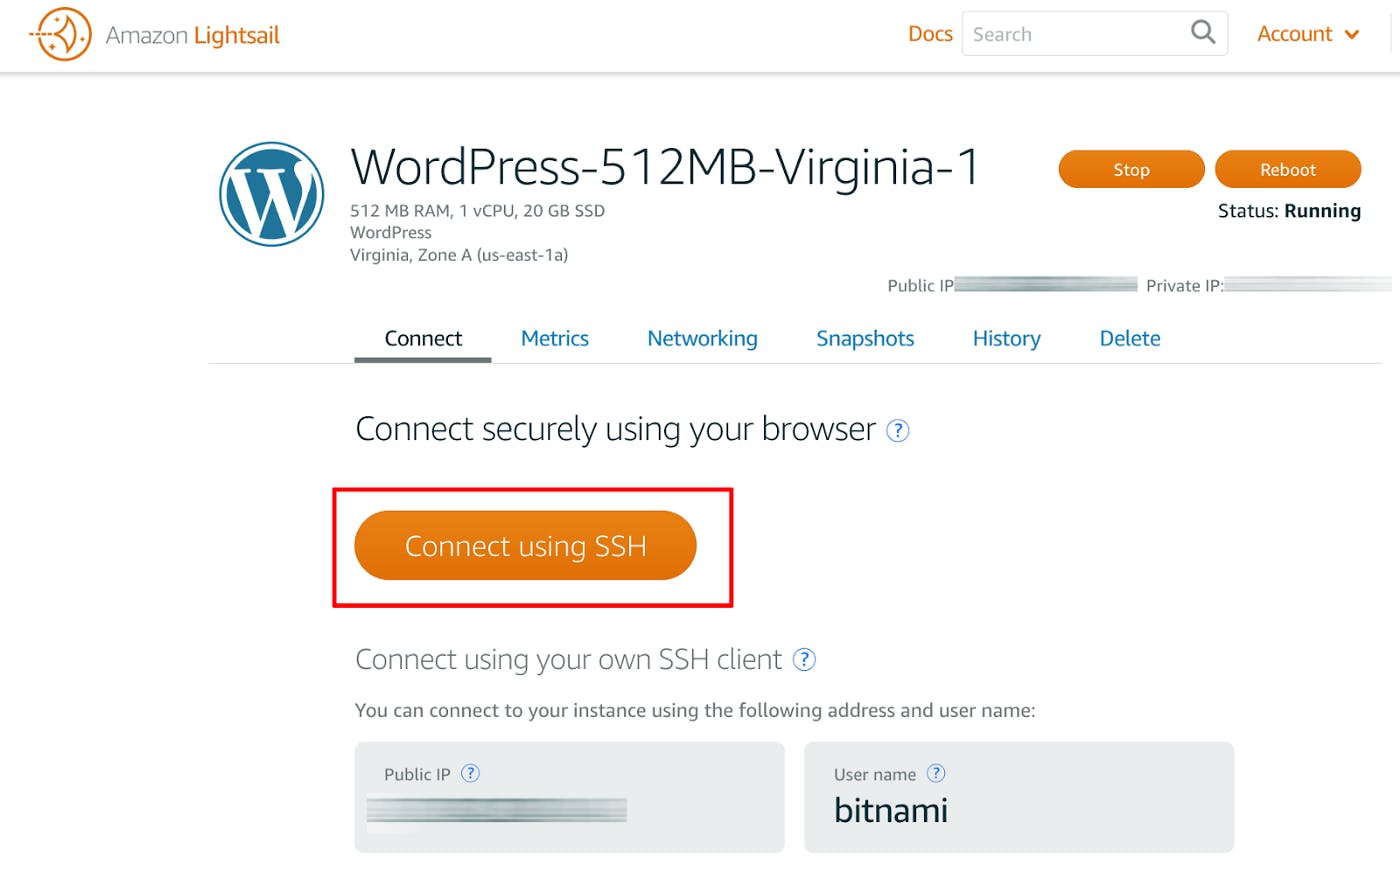
- On the “Connect” tab, choose “Connect using SSH” on the server detail page for your WordPress instance.
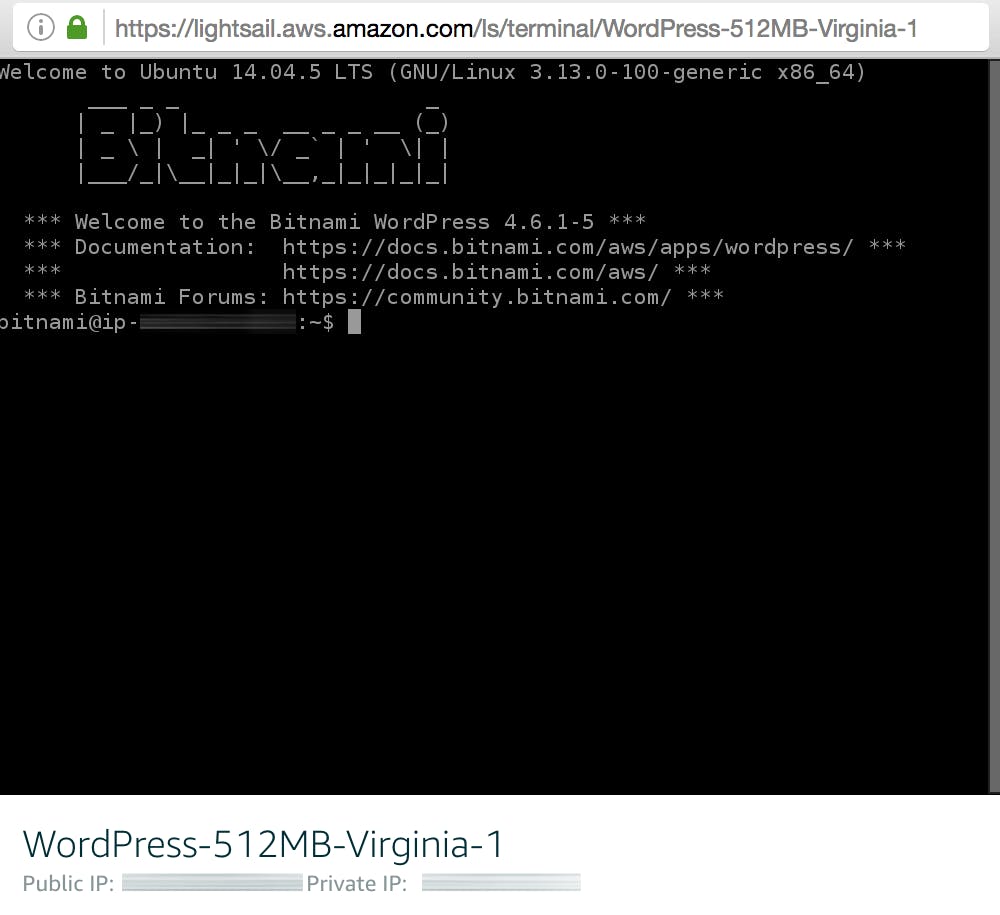
- This initiates a secure SSH connection to the server console in a new browser window. You should see something like this:
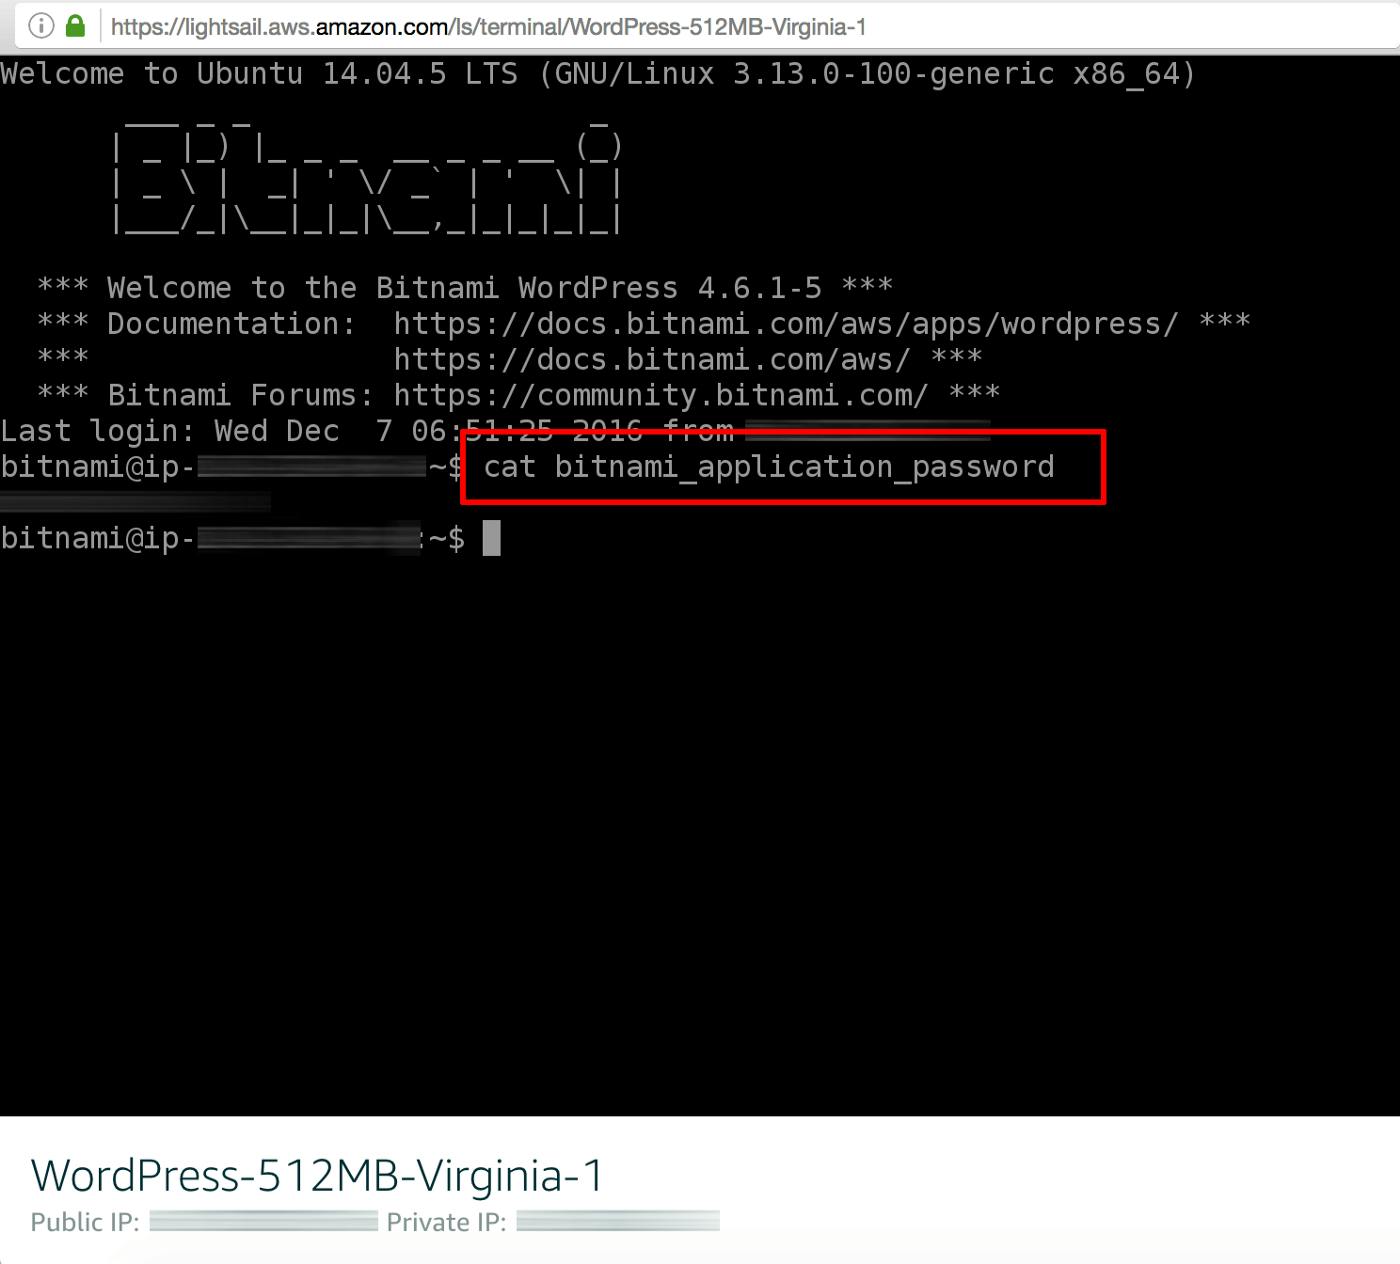
- Run the command
cat bitnami_application_passwordat the server command prompt to see the password that is stored in a file named bitnami_application_password in the home directory.
Step 4: Login and start using WordPress
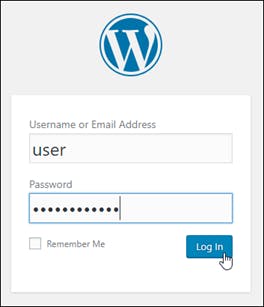
- In the browser window, go to PublicIpAddress/wp-login.php In the address, replace PublicIpAddress with the public IP address of your WordPress instance.
- Log in with the administrator credentials from the previous step.
- You are now signed in to the administration dashboard of your WordPress website where you can perform administrative actions.
Step 5: Create a Lightsail static IP address and attach it to your WordPress site
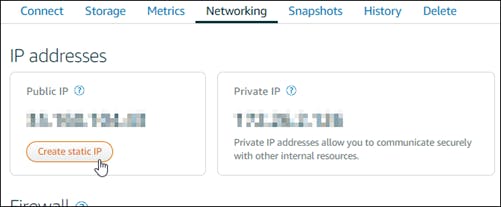
The default public IP for your WordPress instance changes if you stop and start your instance. A static IP address, attached to an instance, stays the same even if you stop and start your instance.
- Go to your running WordPress instance.
- In the “Networking” tab choose “Create static IP”.
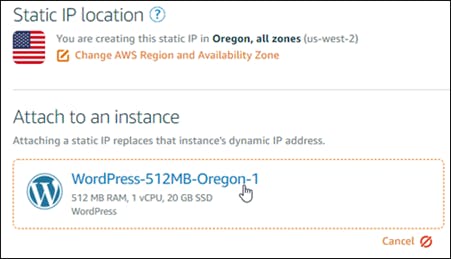
- The static IP location and attached instance are pre-selected based on your instance.
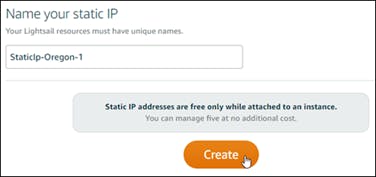
- Name your Static IP and click “Create”. For example StaticIp-Nagesh-1
Step 6: Create a Lightsail DNS zone and map a domain to your WordPress site
Transfer management of your domain’s DNS records to Lightsail. This allows you to more easily map a domain to your WordPress instance, and manage more of your website’s resources using the Lightsail console.
- In the “Networking” tab choose “Create DNS zone”.

- Enter your domain and then choose “Create DNS zone”.
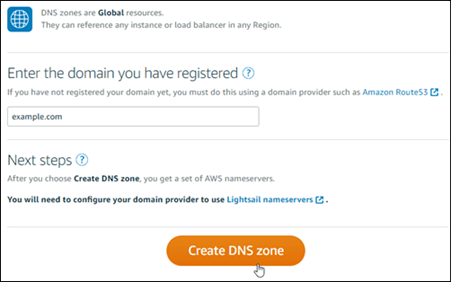
- Make note of the name server addresses listed on the page.
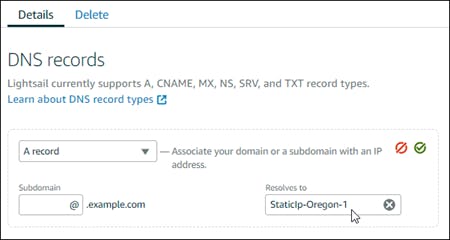
- After the management of your domain’s DNS records are transferred to Lightsail, add an A record to point the apex of your domain to your WordPress instance, as follows:
- In the “DNS zone”, choose “Add record”.
- In “Subdomain”, enter ‘@’ to map the apex of your domain to your instance.
- In “Maps to”, choose the static IP that you attached to the WordPress instance in the previous step.
- Click “Save”.
Allow time for the change to propagate through the internet’s DNS before your domain begins routing traffic to your WordPress instance.
Congratulations! Your Wordpress website using AWS LightSail is live.
